How Terrace Waterproofing Is Actually Applied: A Step-by-Step Look
Published July 15, 2026
Most homeowners in Jaipur booking terrace waterproofing never actually see how the job is done, they see a bucket of material arrive and a finished coat a few days later. Knowing the real process, though, is the best way to tell a properly done job from a rushed one. Here's what a correct application actually looks like, coat by coat.
Step 1: Surface Cleaning
The terrace is first scrubbed with a wire brush to loosen dust, loose plaster and grime, then washed thoroughly with a high-pressure water jet. This is the step most likely to get shortcut on a rushed job, and it's the single biggest reason waterproofing fails early, coating applied over dust or loose debris never bonds properly to the actual concrete surface.
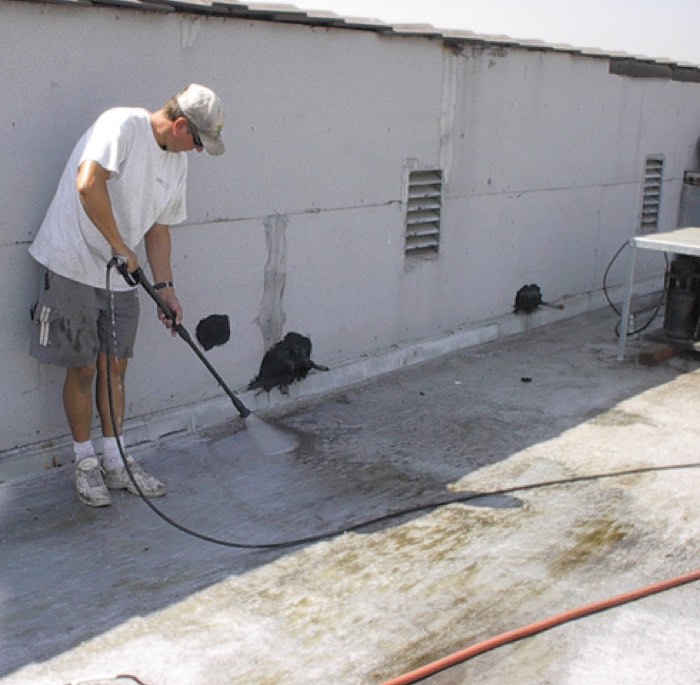
Photo: Brian O'Donnell / Wikimedia Commons, CC BY-SA 3.0
Step 2: Crack Filling
Cracks up to roughly 1 to 1.5mm wide are packed with a crack-seal paste using a 3-inch putty knife, pressed firmly into the gap so the sealant actually sits inside the crack rather than sitting on top of it like a skim coat. Wider or structural cracks need a different repair approach before waterproofing can proceed.
Step 3: First Coat (the Primer)
The waterproofing compound is diluted with water, a common ratio is roughly 3 parts material to 1 part water, and applied by brush, not roller, working it into low spots and pitted areas so it penetrates rather than sitting on the surface. This coat typically runs in one direction, usually horizontal.
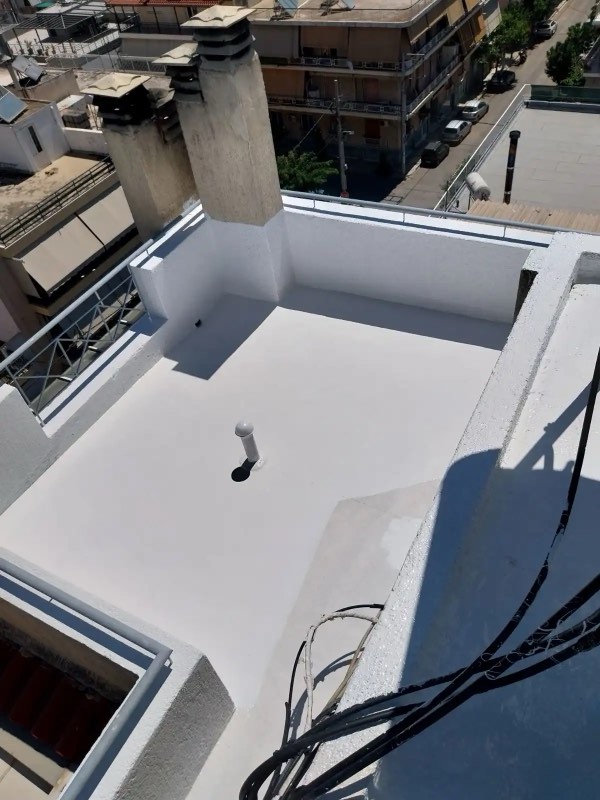
Photo: Μάριος-Μητσόγλου / Wikimedia Commons, CC BY-SA 4.0
Step 4: Second Coat (Undiluted, Different Direction)
After a drying gap of roughly 4 to 6 hours, the second coat goes on undiluted (no water added at all) using a roller, and in a direction perpendicular to the first coat, if the first was horizontal, this one goes vertical. This cross-directional layering is what actually builds a continuous, pinhole-free film.
Step 5: Third Coat (Completing the System)
A third undiluted coat is applied, again perpendicular to the previous one, bringing the pattern back to the original direction. Three coats, alternating direction, is the standard system for reflective damp-proof coatings, skipping to two coats to save time is a common shortcut that shows up as failure within a year or two.
Why the Coating Is Always White
Reflective terrace waterproofing coatings are supplied in white for a functional reason, not just aesthetics, the white finish is what reflects heat and delivers the temperature reduction (typically 8 to 10°C below the terrace) that these systems are known for. Tinting the coating with color reduces this reflective performance, so it isn't offered as an option regardless of how it might look.
What to Ask Before You Pay
- Was the surface cleaned with both a wire brush and a pressure wash, not just swept?
- Were cracks packed with sealant, not just painted over?
- Was there an actual gap between coats, or were all three coats rushed through in one day?
- Is the workmanship backed by a warranty from the contractor, separate from the product's own warranty?
If you're not sure which product system fits your terrace, our Dr Fixit vs Asian Paints comparison covers the two most common options in Jaipur, or you can see full costs on our pricing page.
Get a Free Quote Today
We'll call you within 2 hours with a no-obligation quotation.
Prefer to talk? Call +91 94296 92686